Shower Enclosure Tips
Plan for your shower to be built using 90°, 135°, or 180° angles.
Most shower hardware is designed for these angles, so planning your shower with this in mind ensures a cost-effective installation and a functioning shower enclosure.
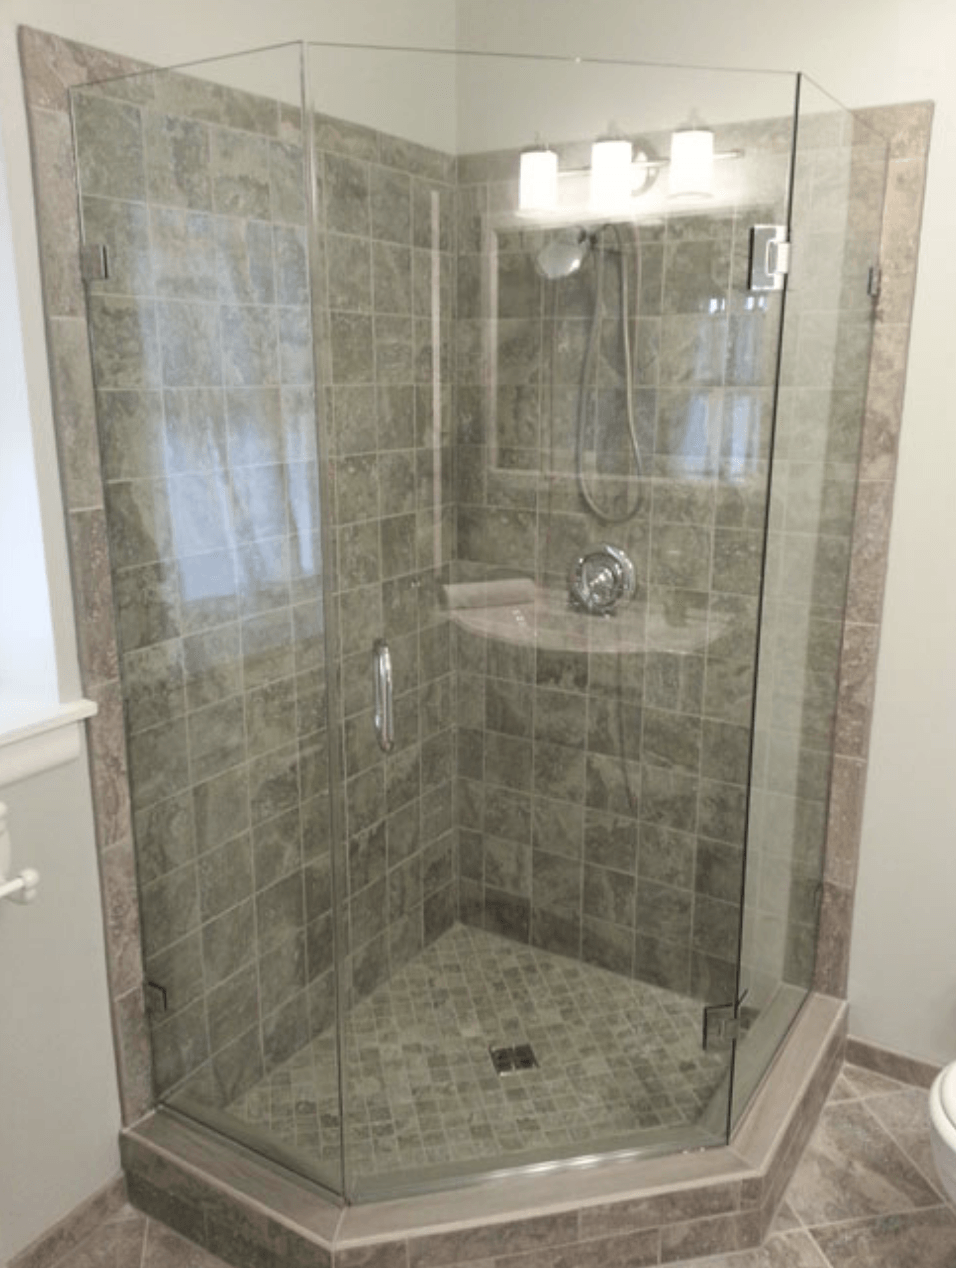
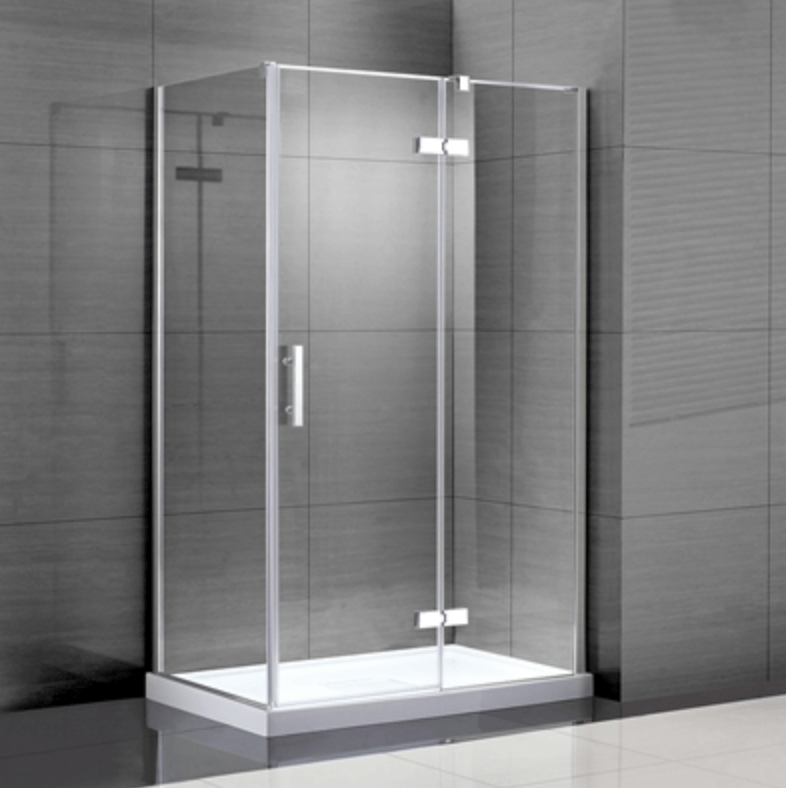
90° Shower
135° Shower
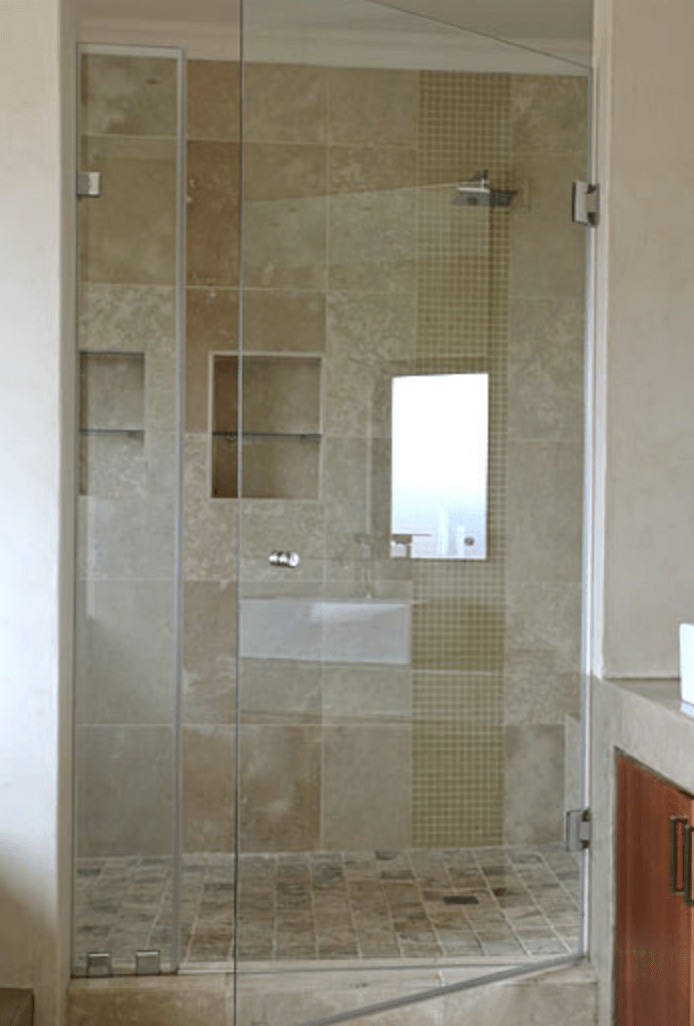
180° Shower
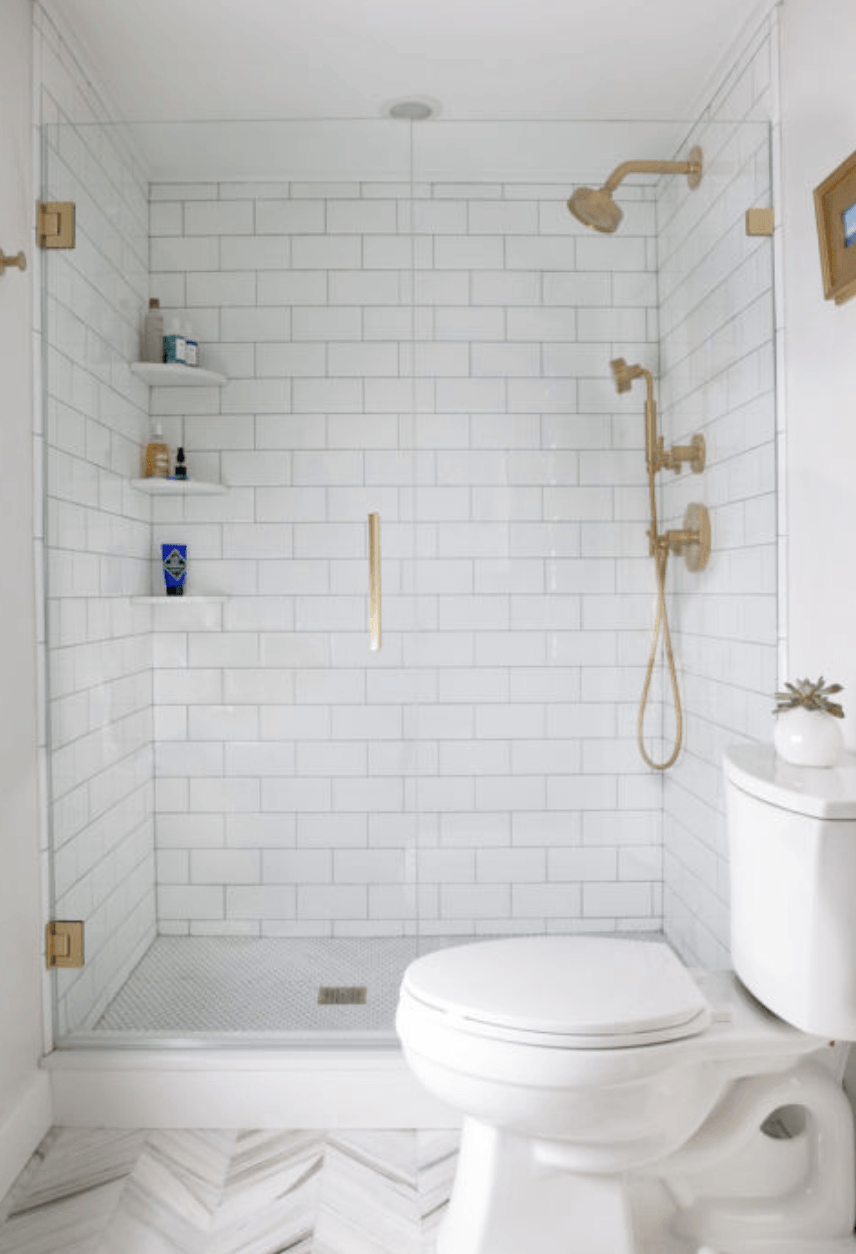
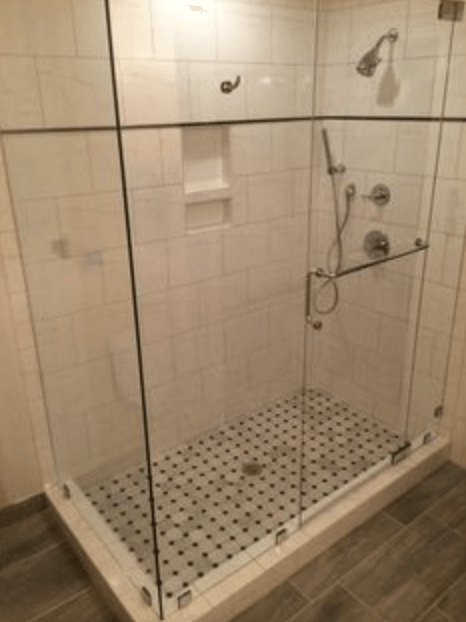
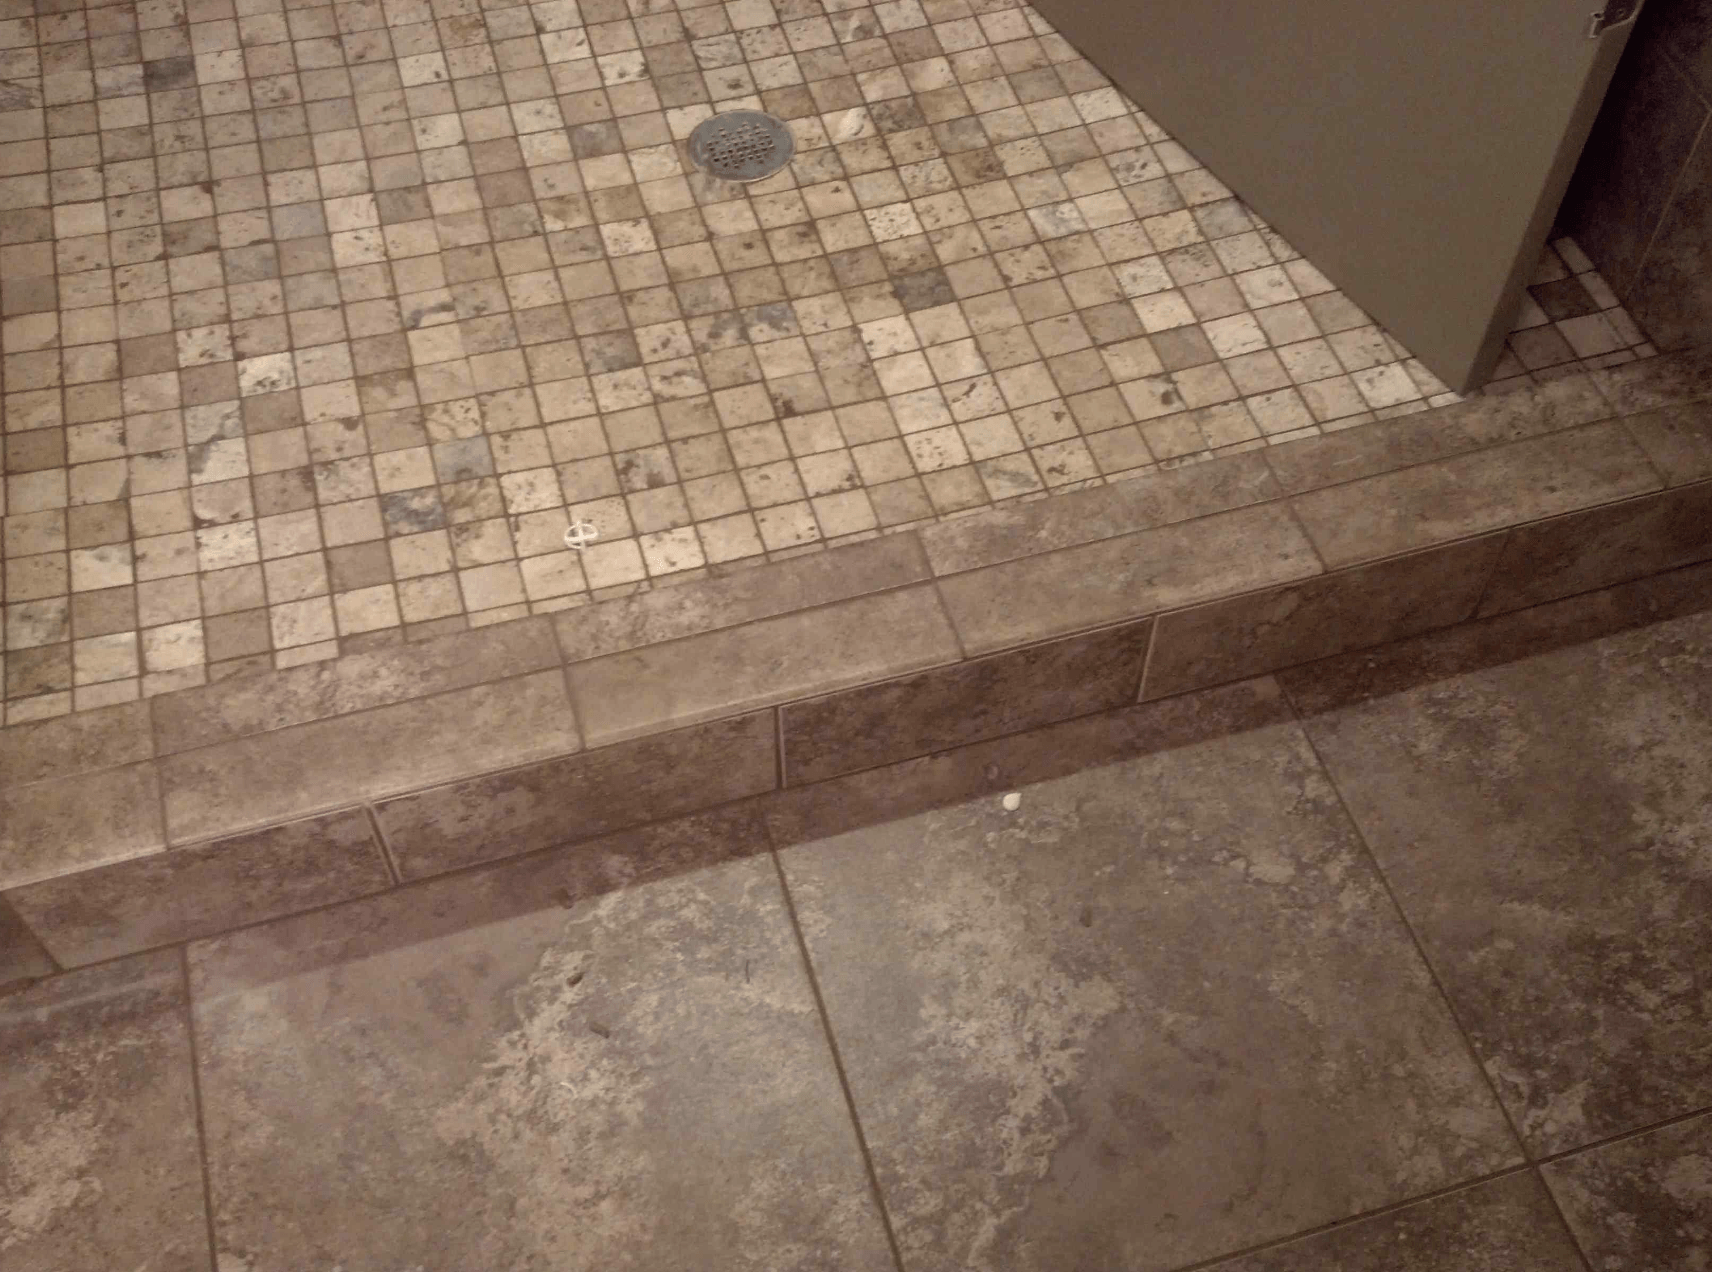
Decide whether you want your shower floor on a curb (lip) or flush with the floor.
While eliminating the curb is beneficial when planning a handicap accessible shower enclosure, you should keep in mind that a properly constructed curb helps prevent water from leaking or pooling onto your bathroom floor.
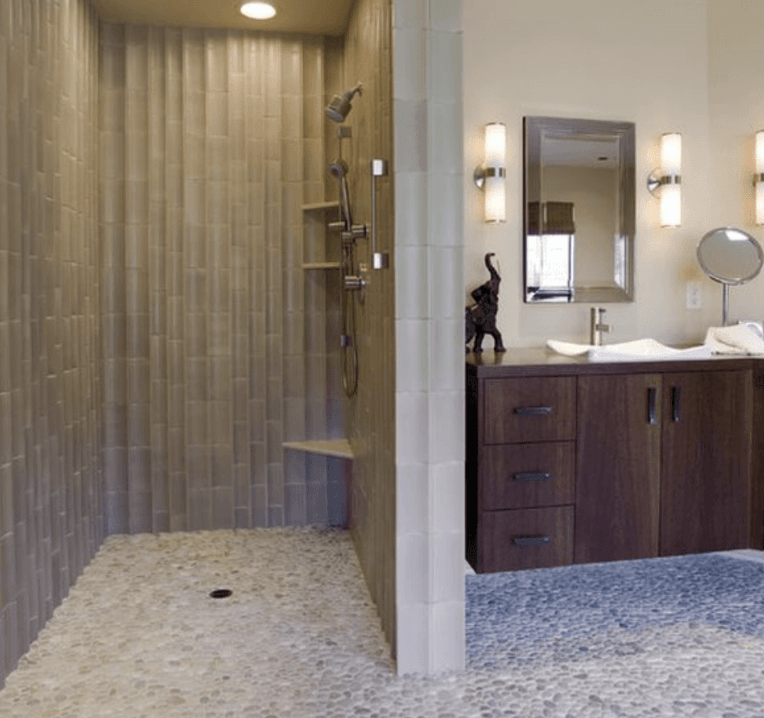
Curb-less Shower
Curb Shower

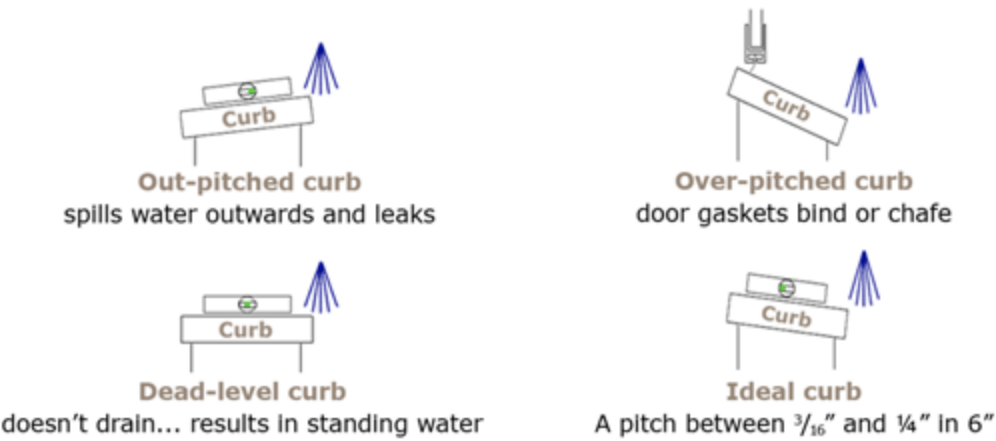
Slope of Curb
The curb or lip around the bottom of the shower should to be slanted inward at a 5-degree (approx. 3/16" to 1/4") "pitch" or slope so water flows in toward the drain. (A level curb would cause the water to stand, while a curb angled away from the drain would cause water to leak onto the bathroom floor.)
Slope Angles
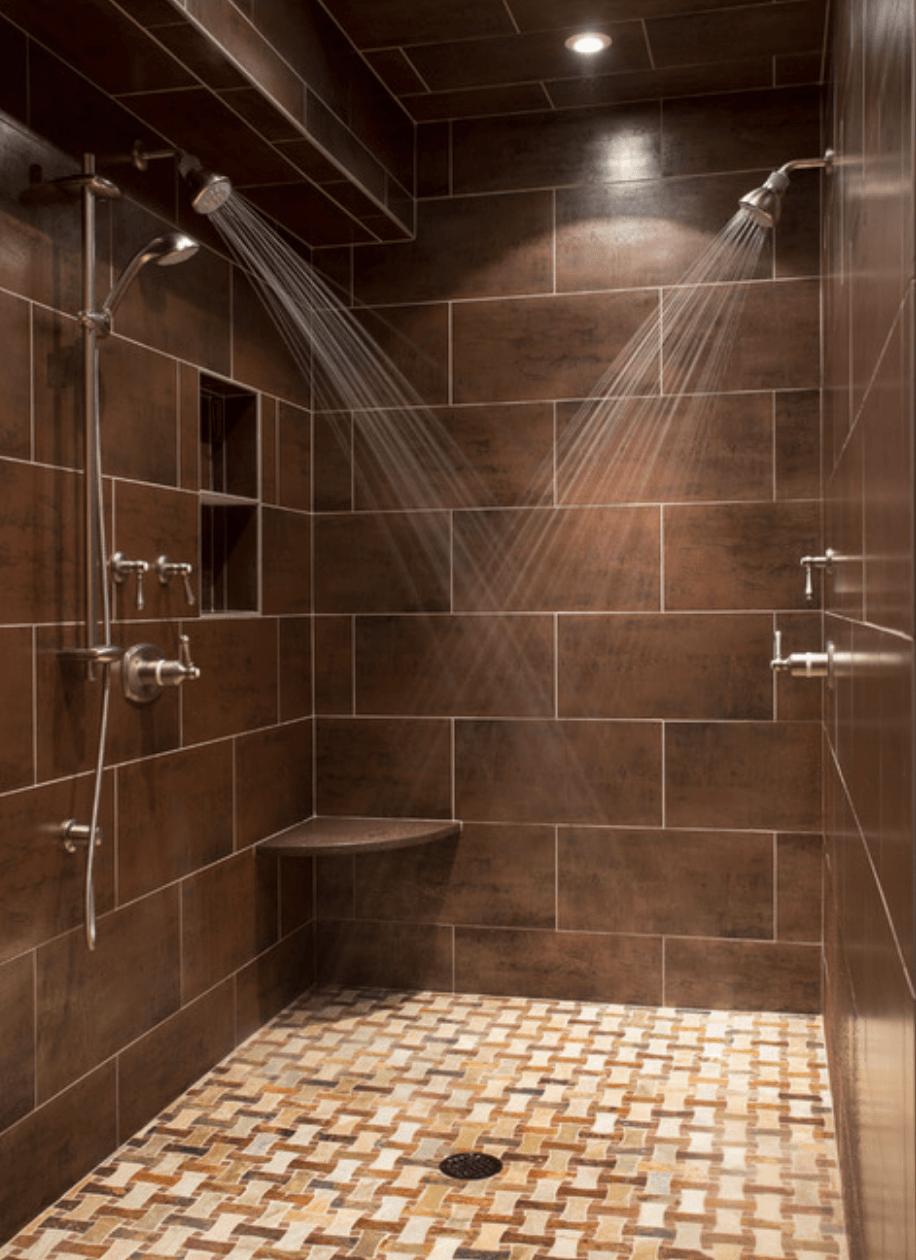
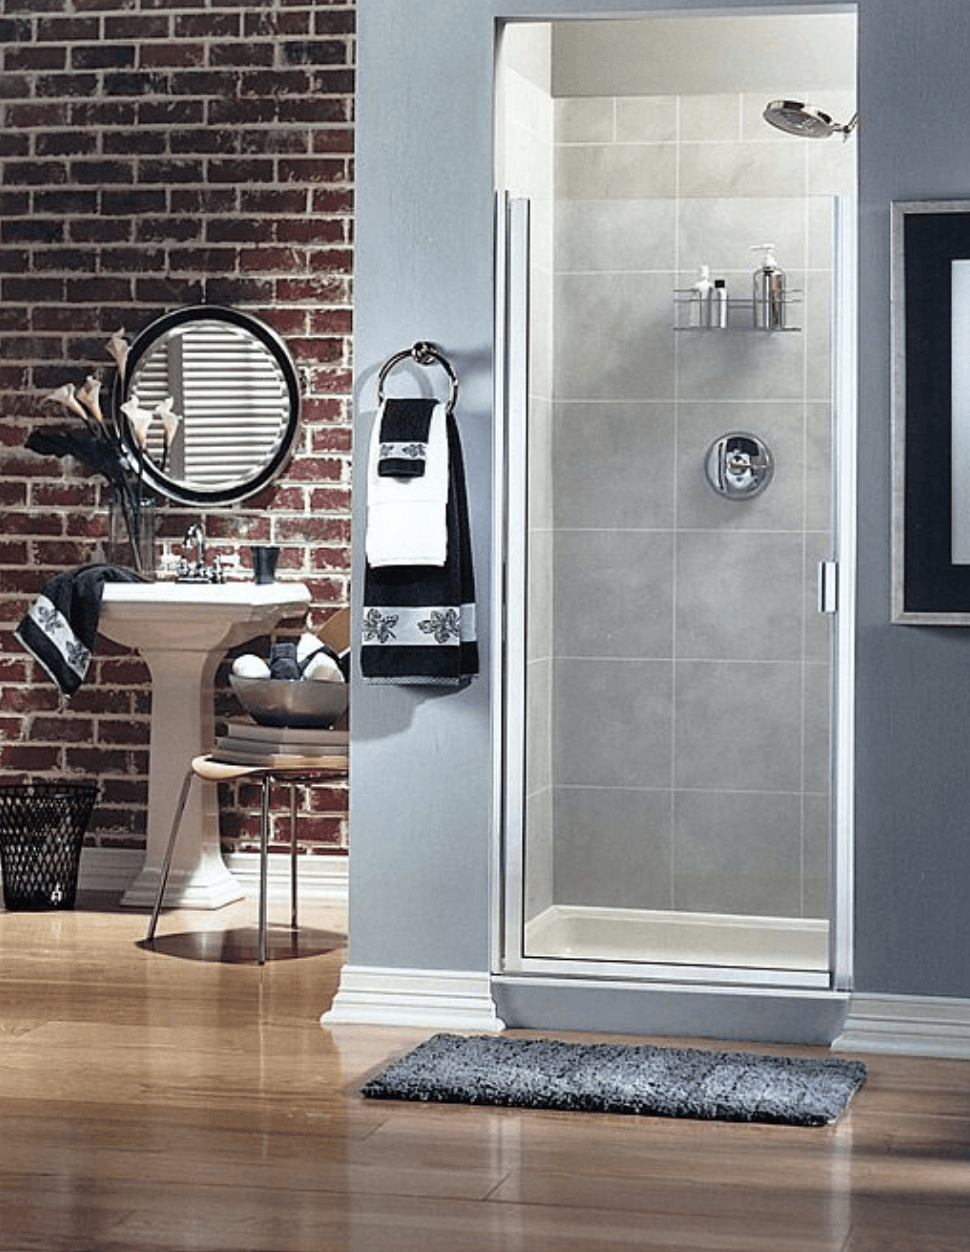
Make sure your shower head is in the correct position!
Positioning shower heads toward tiled walls or your fixed panels will help to minimize leakage. Shower heads should never be positioned opposite a door or other opening. Exceptions may be made for smaller or low-flow shower heads or shower heads that point straight down at the floor.
Correct Shower Head Position
Incorrect Shower Head Position

A glass transom is located above a frameless glass shower door and can be fixed or movable.
A few reasons to use a glass transom is to vent steam, to stabilize floor-to-ceiling showers, and when installing pivot doors. You will want to make sure the shower door won't be hampered by anything installed on the ceiling when it swings open. If an exhaust fan, vent or light fixture is in the path of a swinging door, a glass transom may be needed to give the door clearance.
Moving Glass Transom
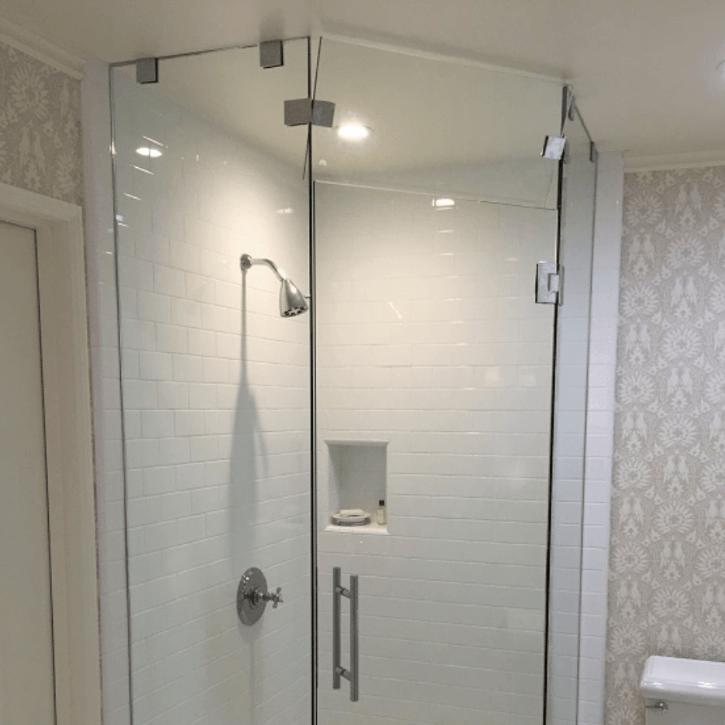
Non-Moving Glass Transom
Double Glass Transom

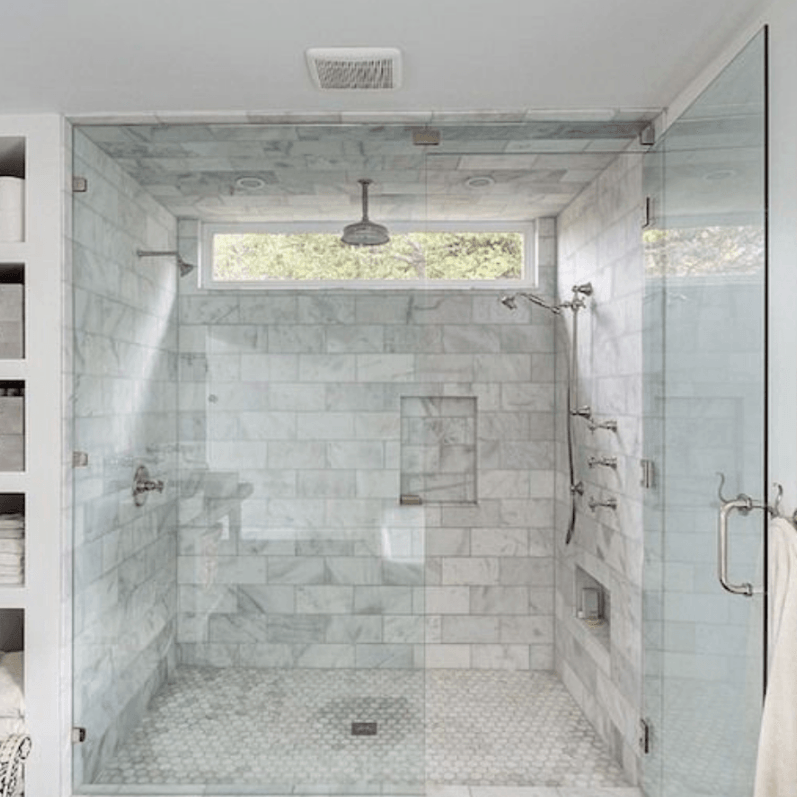
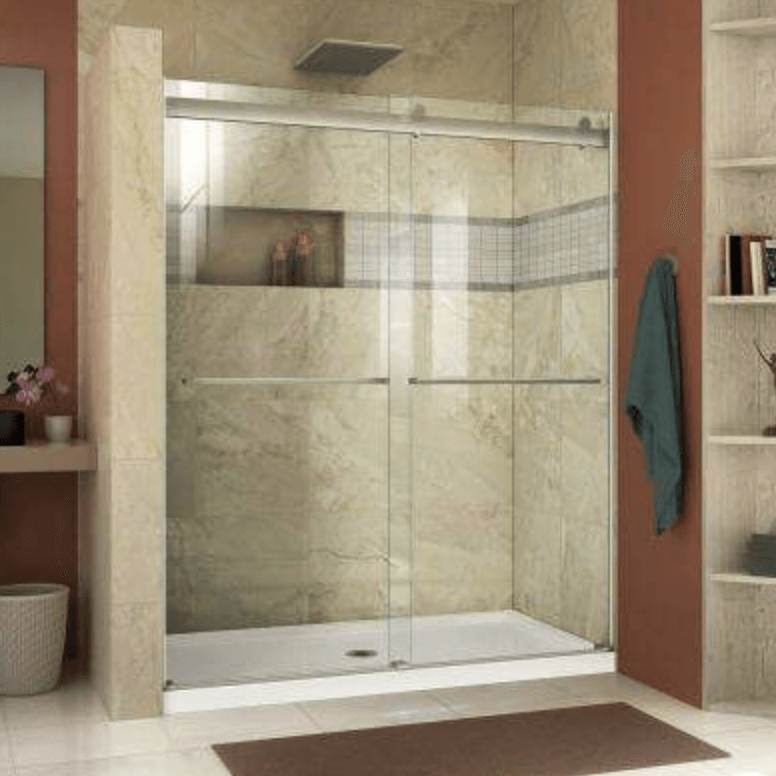
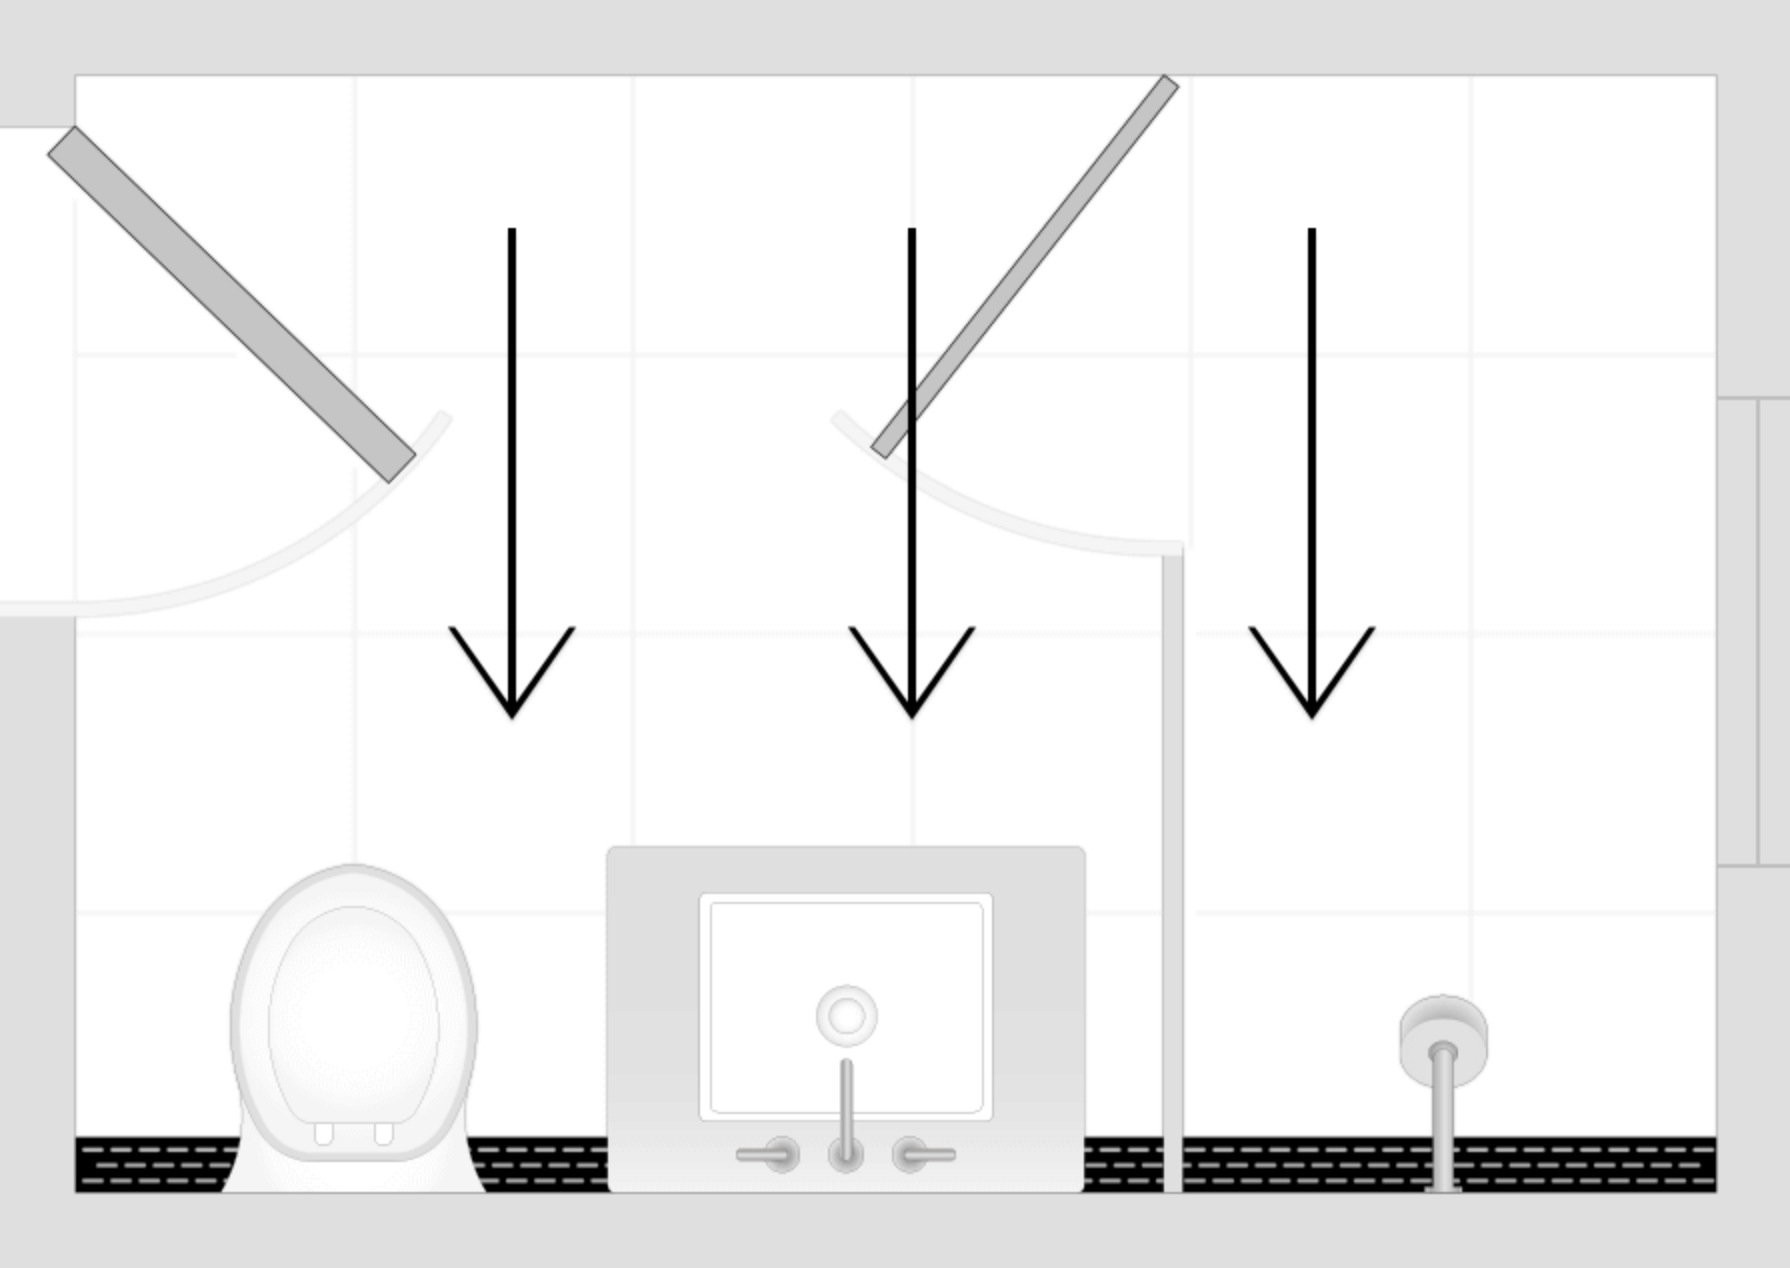
When planning your shower design, keep in mind that building codes require all hinged shower doors must open outwards. You can also have sliding doors.
Hinged shower doors that swing inwards only are not permitted by code. However, your shower door can open in both directions, outward-opening and inward-swinging. You will need about 30" of clearance space outside your shower to install a swinging shower door.
Hinged Door Opening Outwards
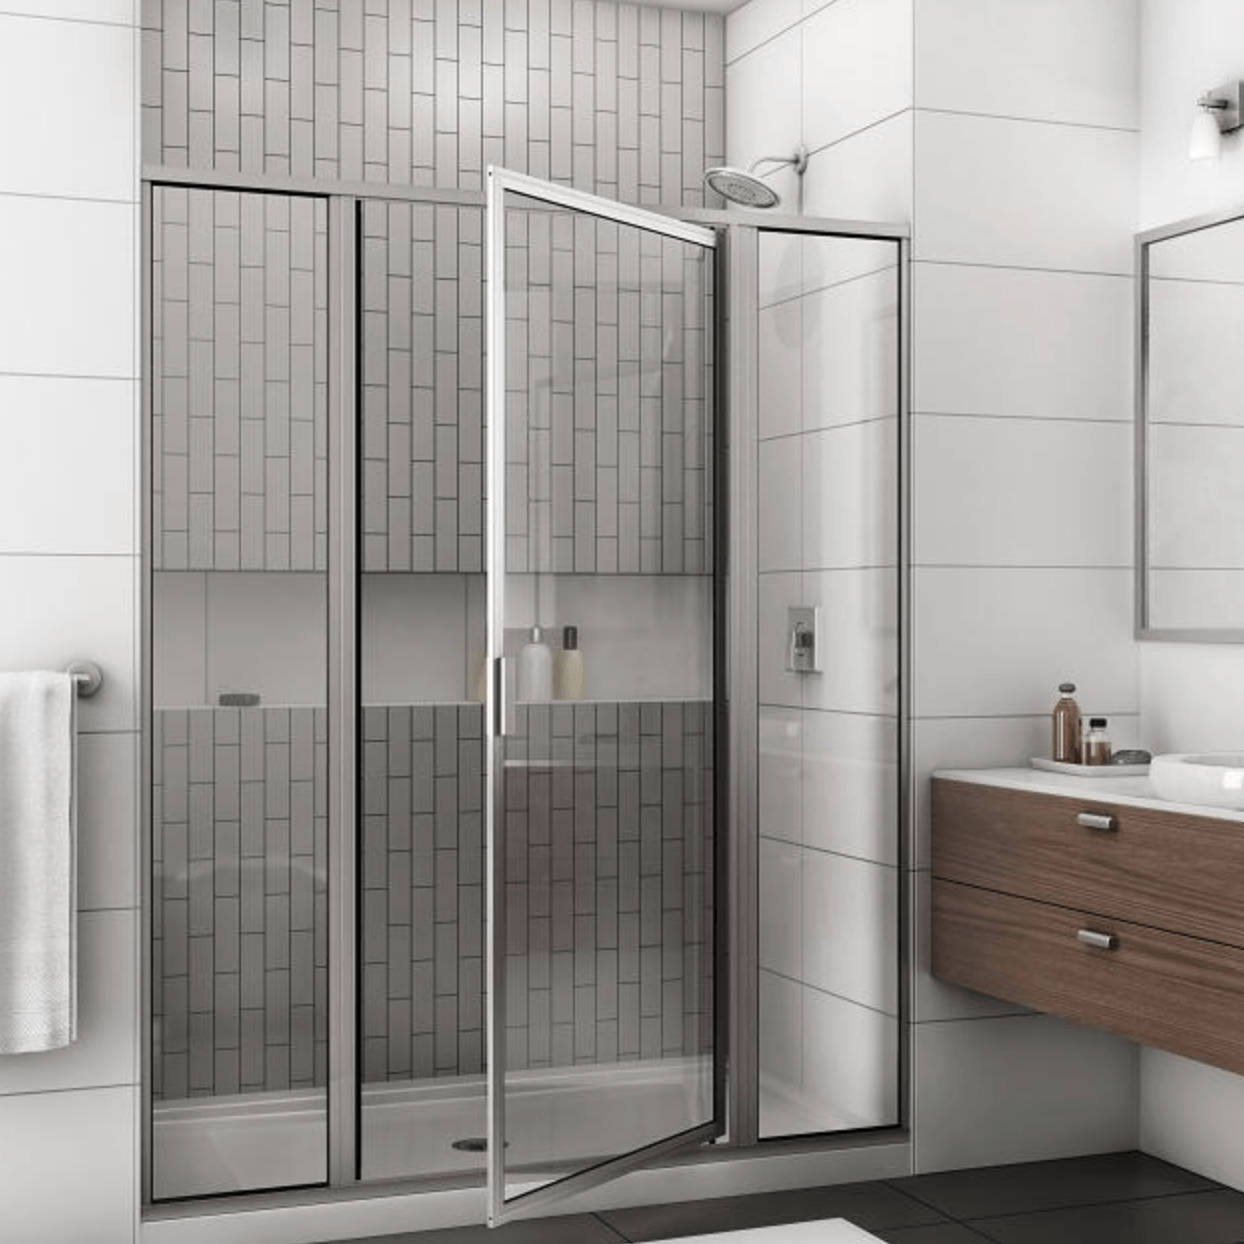
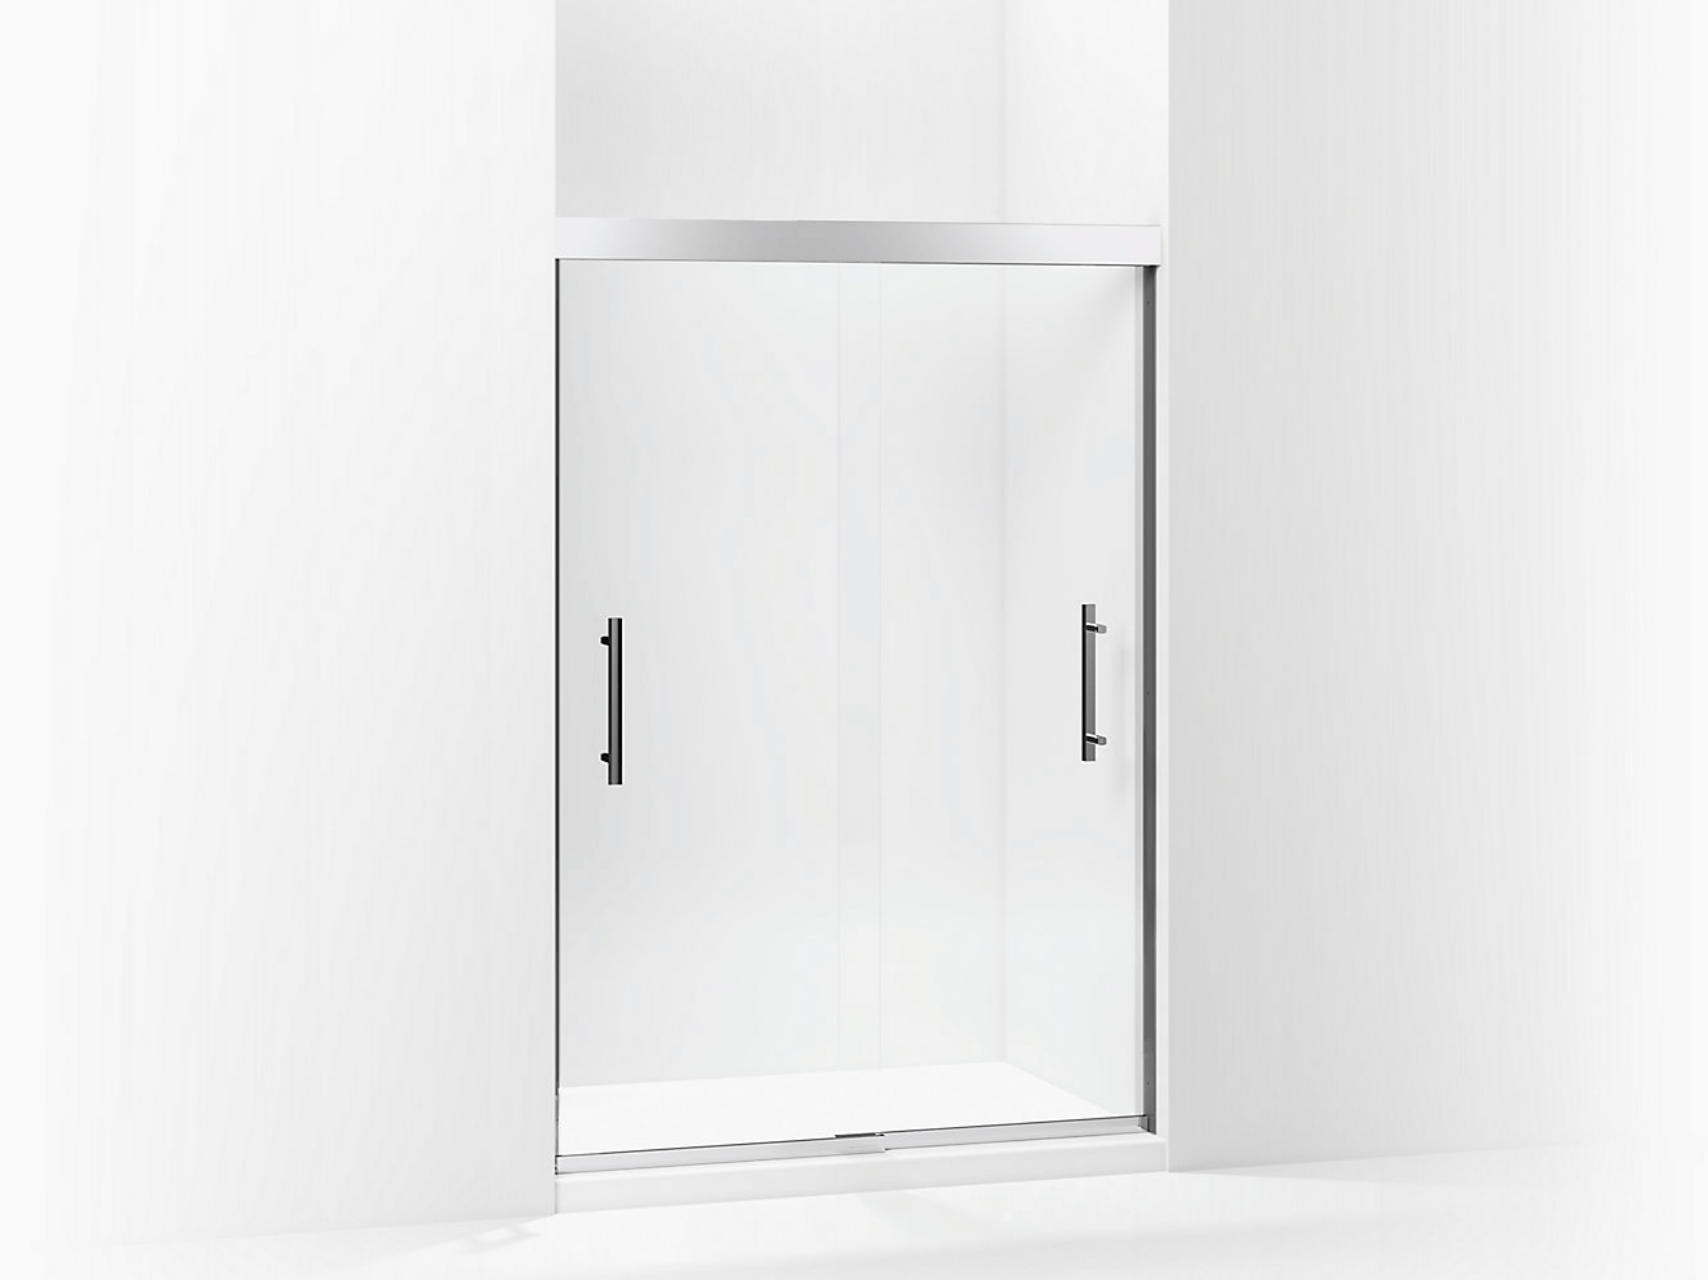
Sliding Glass Door
Avoid mounting door hinges and glass clips onto glass tiles!
Do not mount glass hinges or door clips to glass tiles as breakage is likely to occur during and even after installation. This can result in delays in getting the project finished and additional charges from the tile installers for repairs.
Correct Placement of Door Hinges
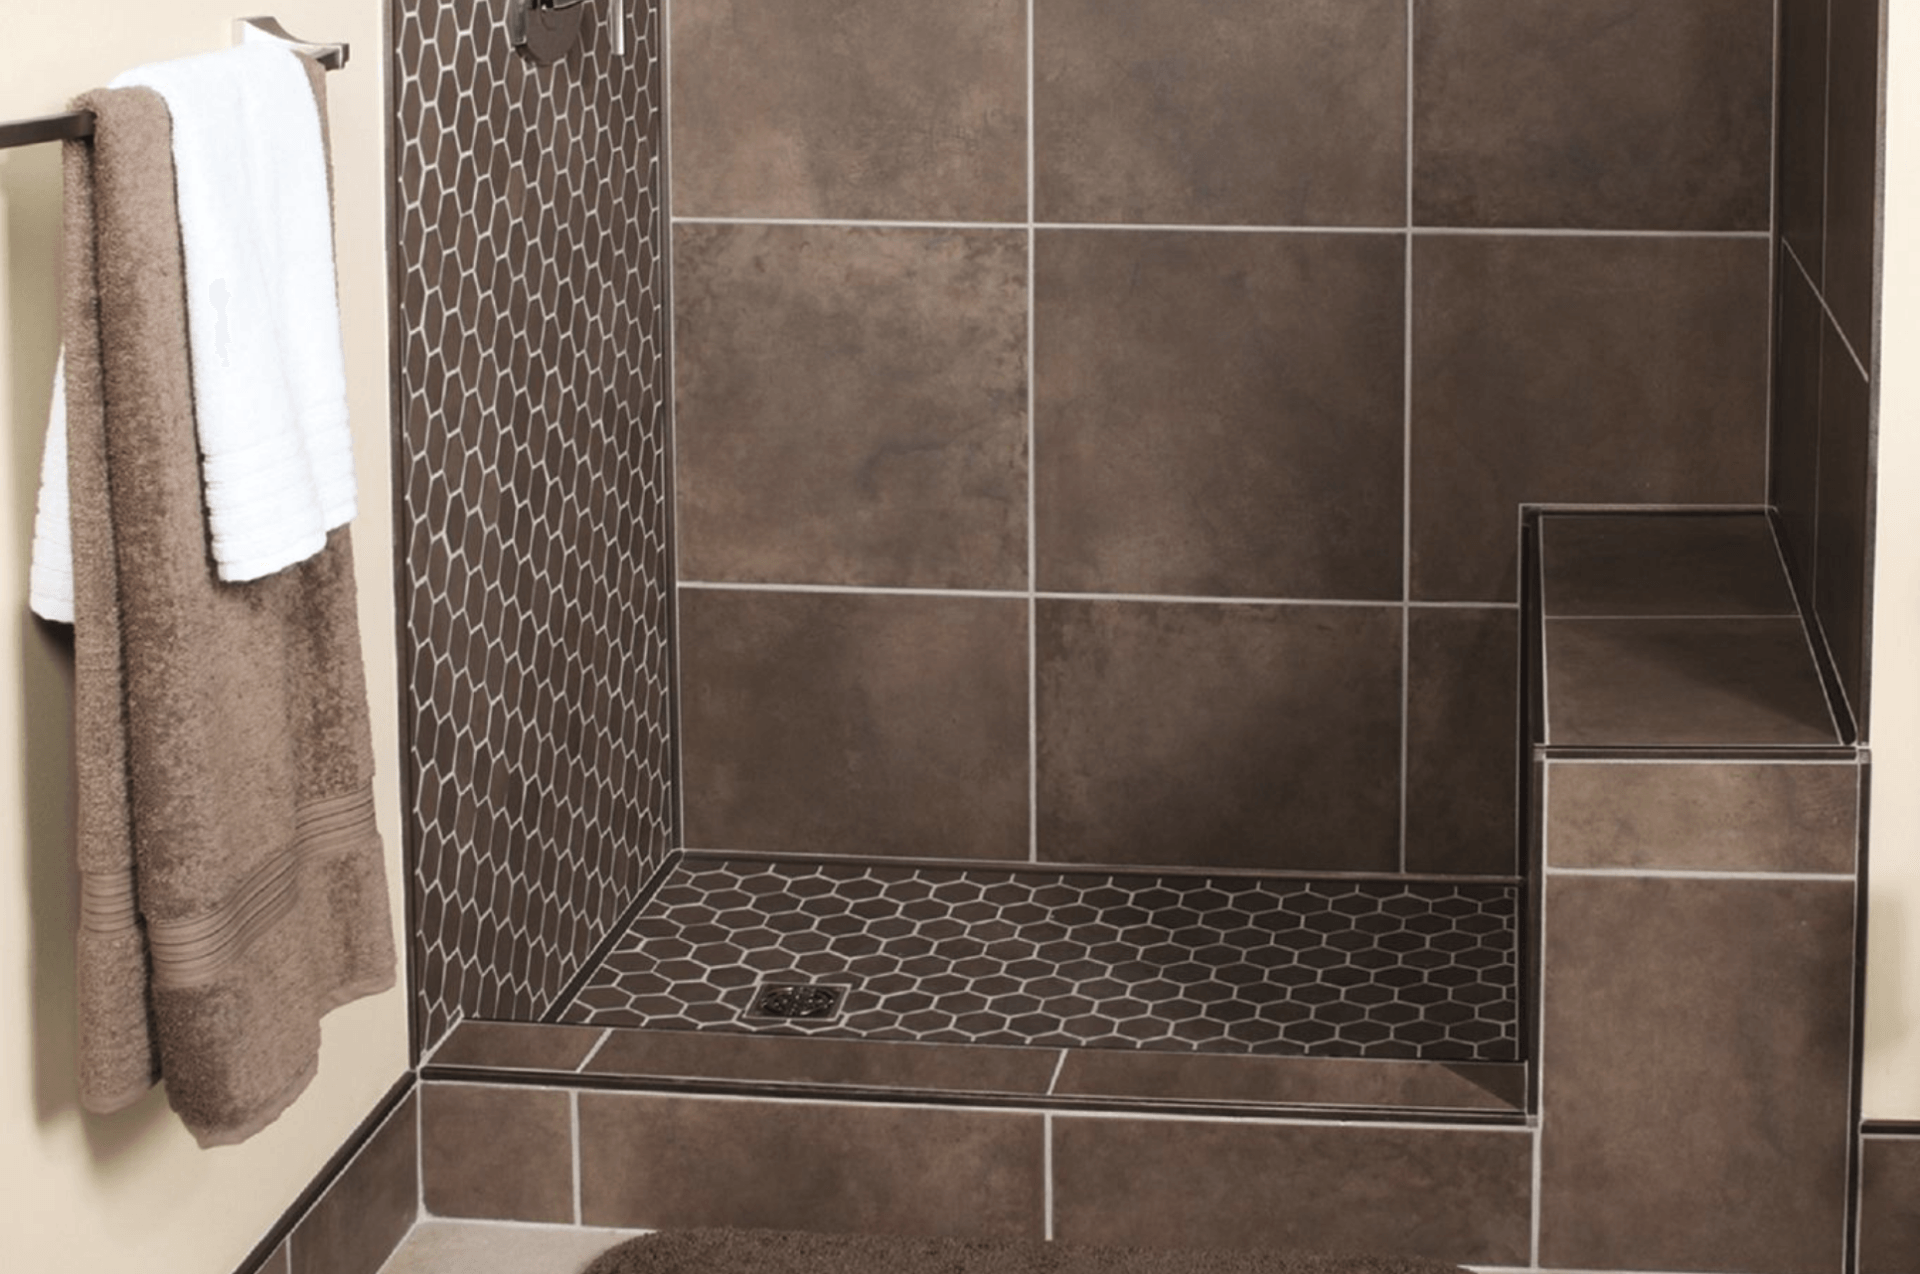
Add a slope to your shower seat!
Shower seats need to have a slope of 5 degrees. This helps water move from your shower seat to the floor of your shower. Having a shower seat that does not angle forward can cause water to pool or level.
Correct Shower Seat
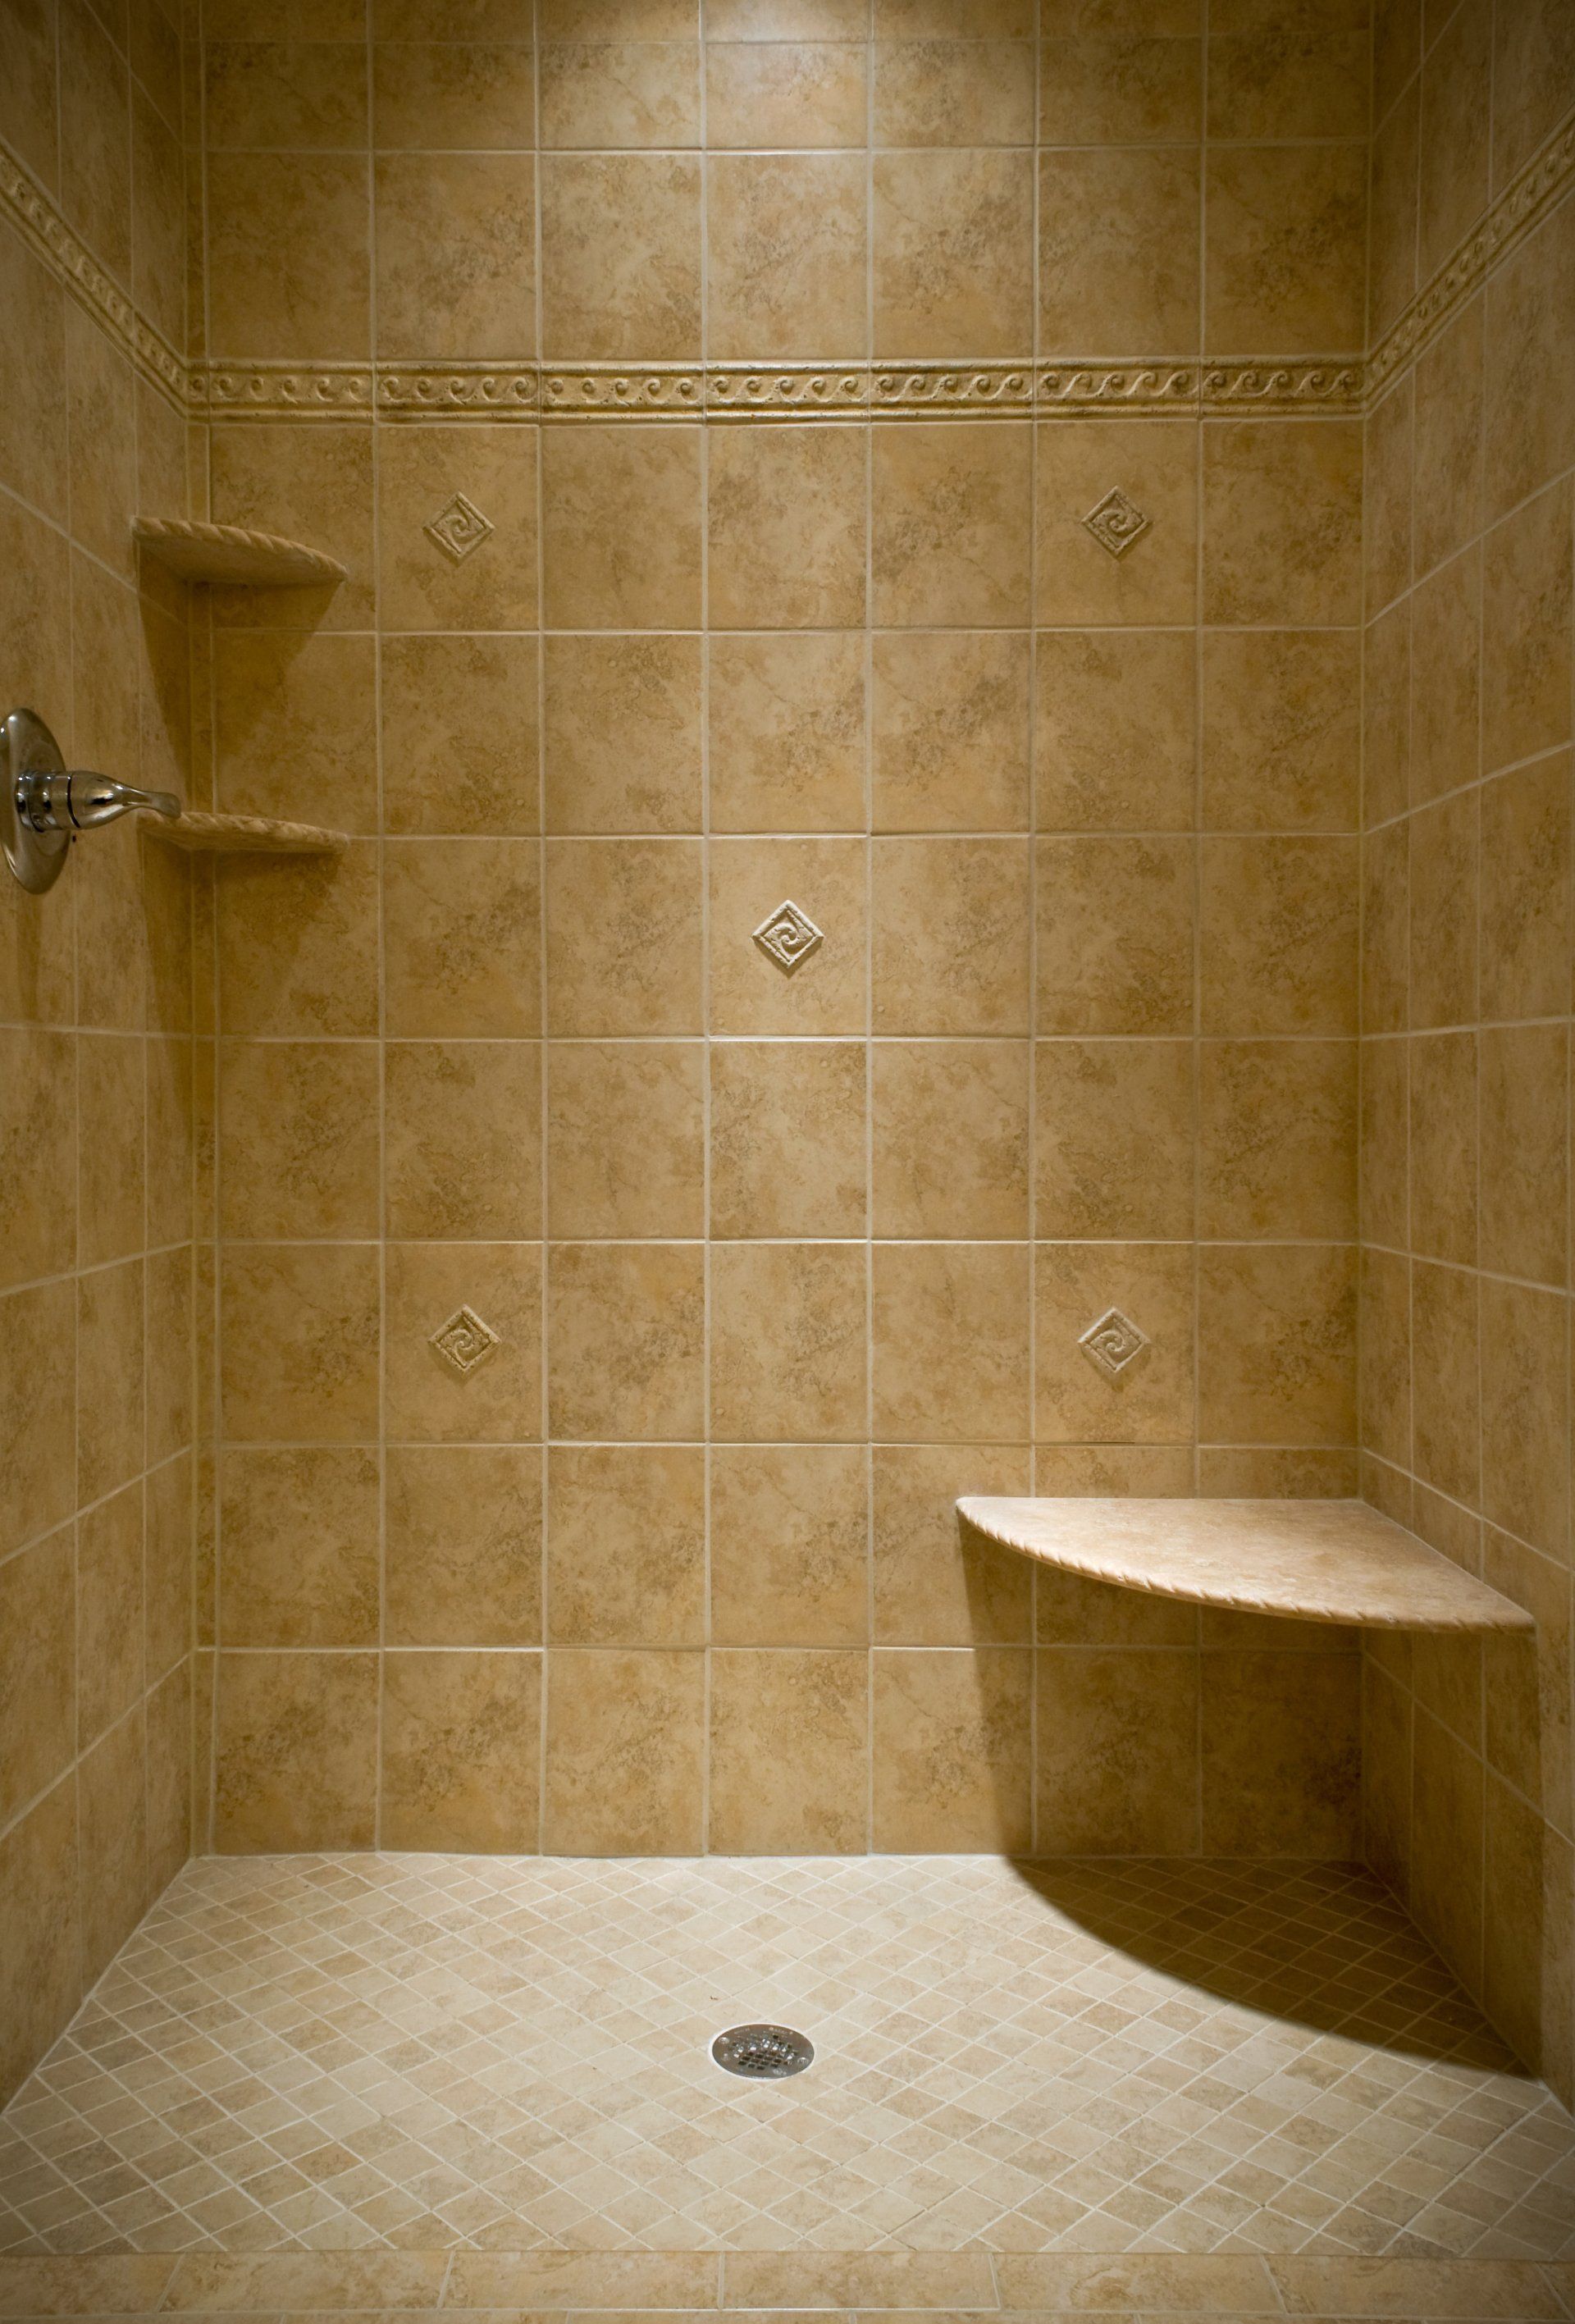
Incorrect Shower Seat
Support For Shower Doors and Hardware
Be sure the wall on which you would like to install a hinged shower door has proper studding behind it. Always provide wood studs or blocking where doors hinge or panels are anchored, especially when metal studs were used in the original construction of the wall.
Correct Support For Shower Doors
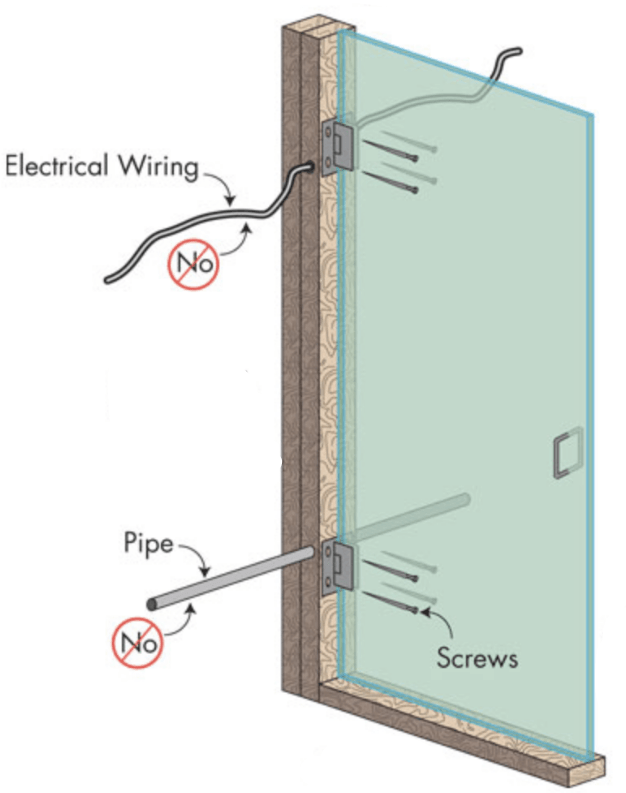
Pipes and Wiring For Your Shower
Never run plumbing pipe or electrical wiring through walls or studs. Anchoring screw for the shower enclosure hardware might puncture it causing major damage.
Correct Pipes and Wiring
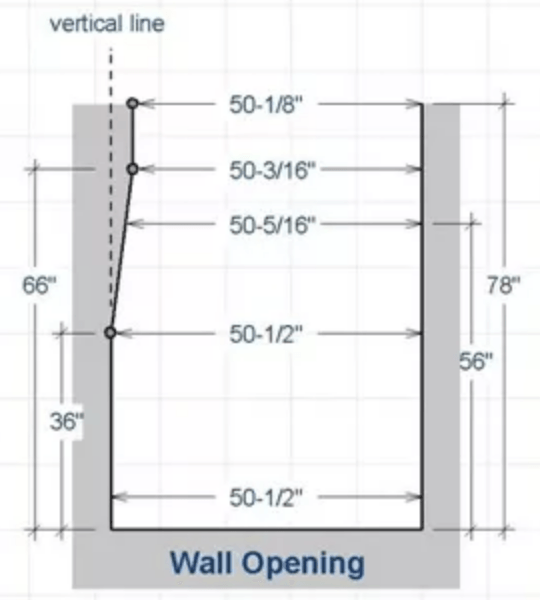
Walls which meet a door or glass panel need to be completely vertical, or "plumb", in order to prevent gaps, uneven joints, and hinge "bind".
Any walls that are more than 1/4" out of plumb make it very difficult to install a shower properly since they cause unsightly gaps and are more likely to bend. For less than 1/4" out of plumb walls, we will cut the glass so it will lie flush against your wall.
Correct Wall
Incorrect Plumb Wall
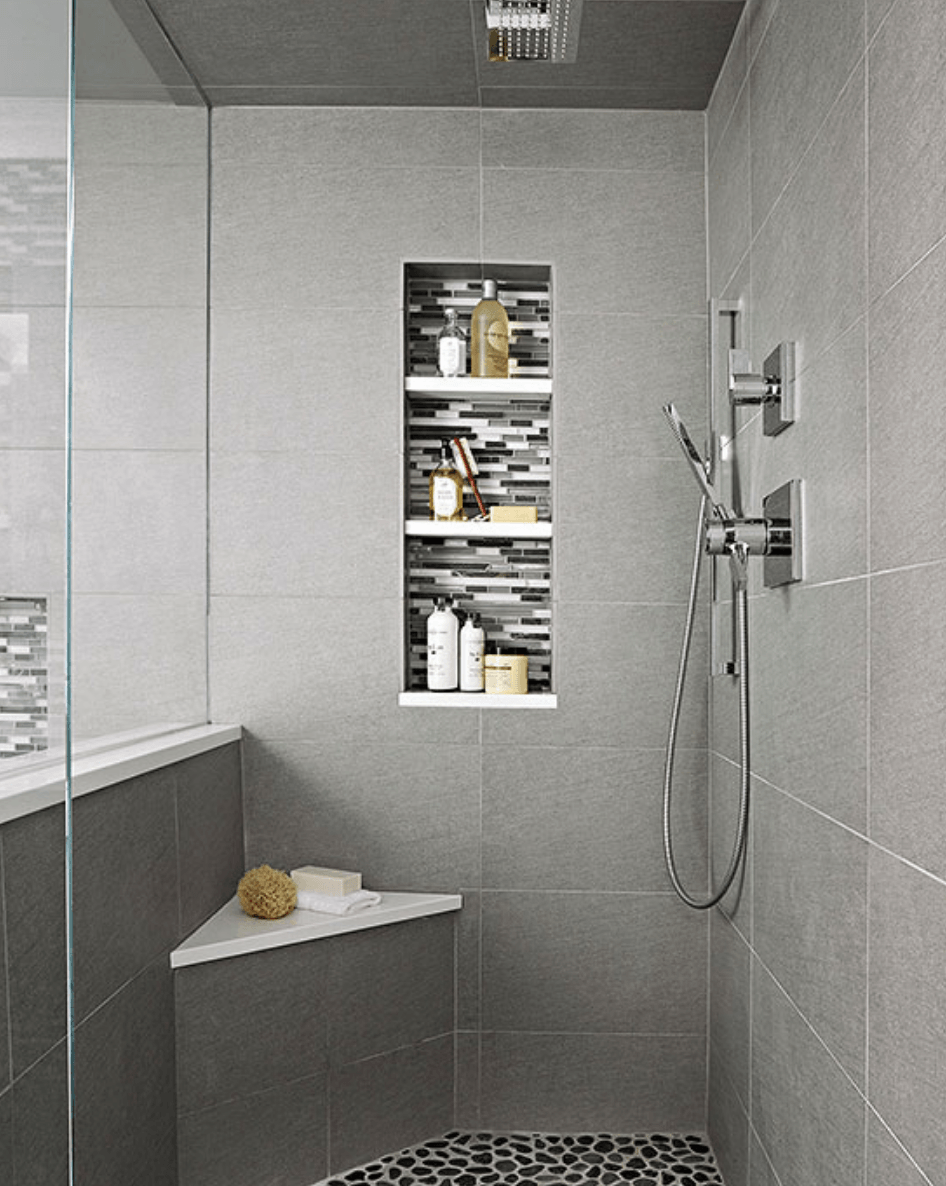
Minimum Width of Glass Panels
When designing your shower enclosure, keep in mind that each glass panel needs to be at least 4 1/2" wide, which is the minimum width for tempering glass and supporting the hardware. Also, the door will need to be a minimum of 22" wide and no more than 36" wide.
Correct Glass Panel
Correct Glass Panel
Soffits
The "soffits" or eaves along the top of the shower enclosure must line up perfectly with the angles in the curb below in order to avoid an uneven look.
Correct Soffits

Correct Soffits
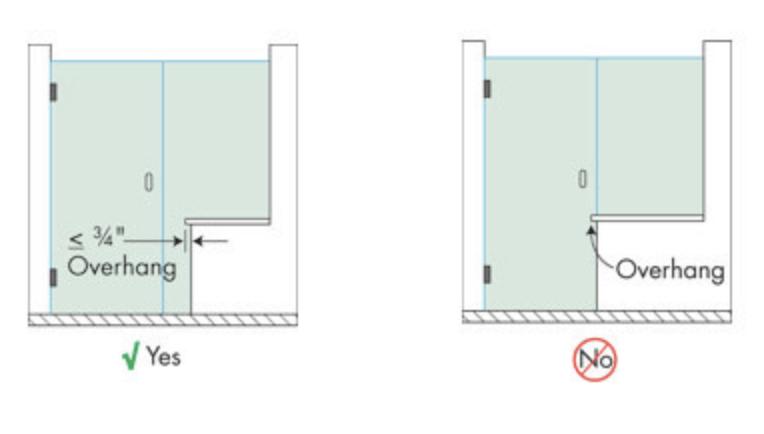
Raised Tiles and Overhangs
Shower doors should be installed in such a way that nothing interferes with their movement and there are no gaps between the door and the wall. The tile or granite can be modified to allow for door operation, but a filler might need to be applied, negatively impacting the look of the finished product.
No Overhang / Shower With Overhang
Curb Tops
Keep in mind that solid pieces of tile, marble or granite are best for the top of a curb. Tiled curb tops increase the likelihood of leakage and encourage the growth of mold or mildew because water collects in grout joints on horizontal tiles. The shower door seal functions best on a smooth surface.
Correct Curb Top
Incorrect Curb Top
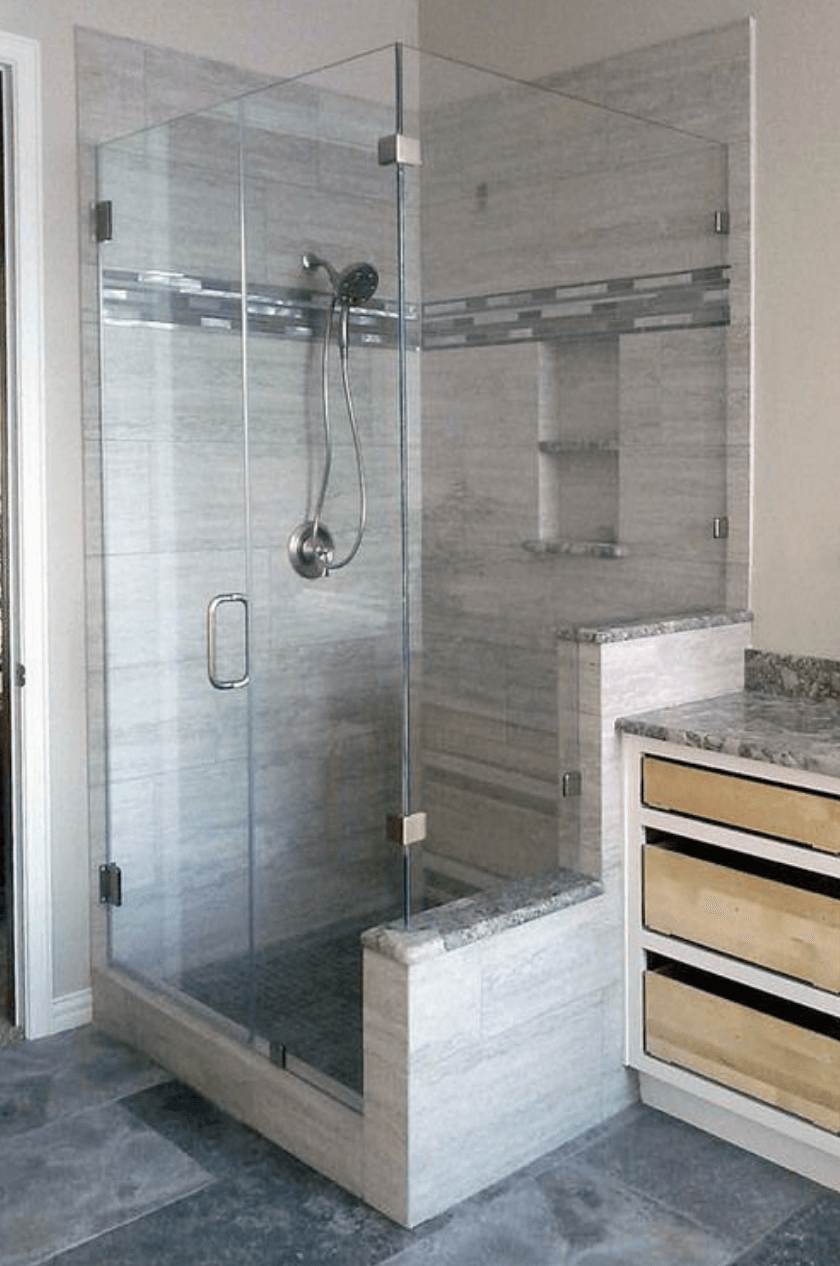
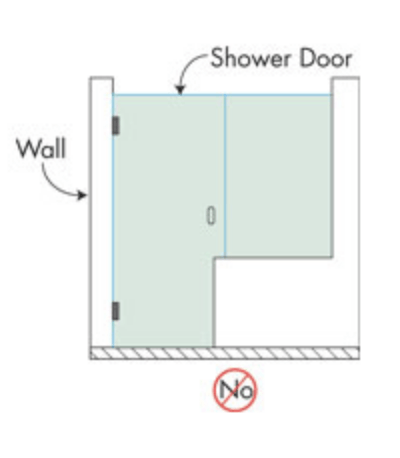
Knee Walls
When designing an enclosure that has a buttress or "knee" wall, plan on including an in-line panel into your design. That way, you can modify the fixed panel to accommodate the buttress wall instead of trying to modify the door.
Correct "Knee" Wall
Incorrect "Knee" Wall
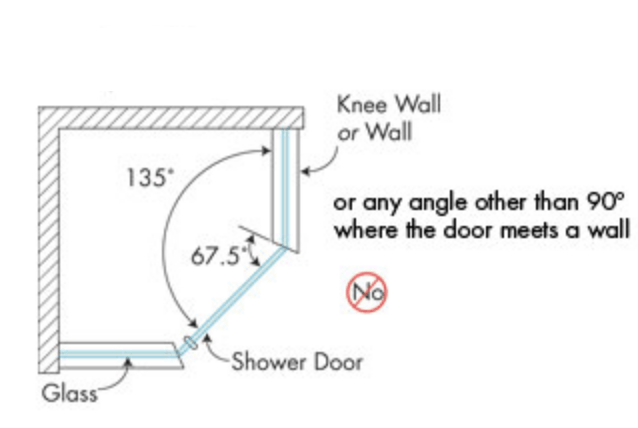
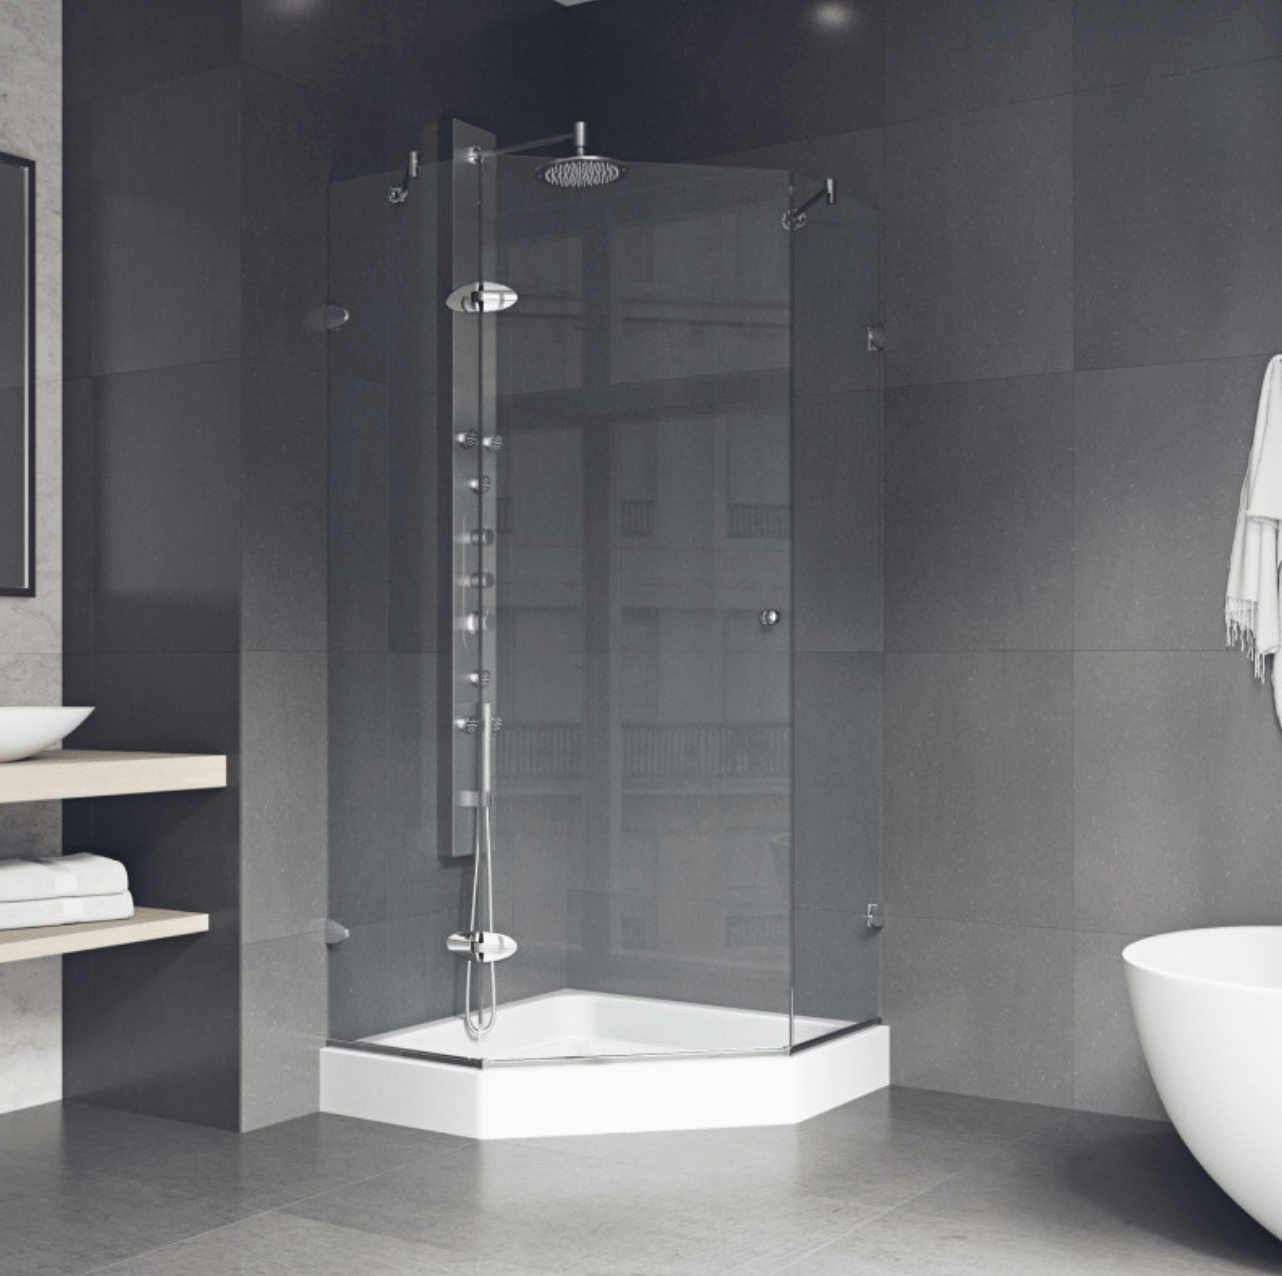
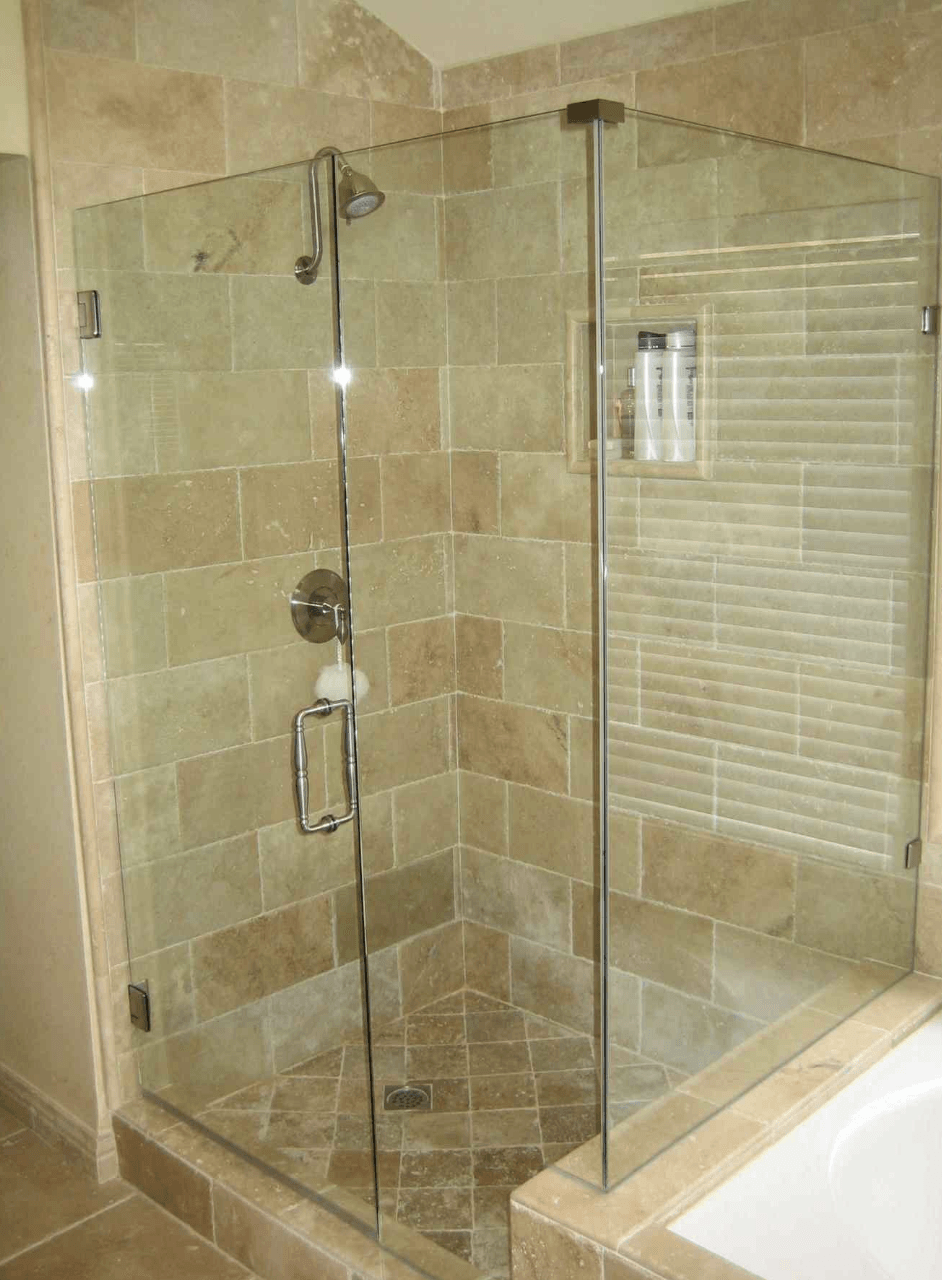
Neo Angle Shower
If your neo angle shower enclosure includes a "knee" wall or wall, make sure that the shower door meets the structure at a 90 degree angle to accommodate the requirements of the hinges. This is not a restriction when glass meets glass at the 135 degree angle.
Correct Neo Angle Shower
Incorrect Neo Angle Shower